Framework 16: Better, Faster, Stronger
on frame.work
- Motivation
- Ordering Process and Timeline
- Unboxing Experience
- Build Comparison to FW13
- Modules
- OS Install
- Switching between OS’s
- Issues?
Motivation
When I purchased my original framework, I was pretty happy with the modularity of the new machine. Even so, I was downgrading from a larger touchscreen and keypad.
A lot of people don’t like either of those features. I was using both, a lot.
So when Framework said that they had a new model that had a bigger screen, numpad and with connectivity that would allow later support for touchscreens, I was all in.
On top of that, the new machine would be AMD instead of Intel.
If I am completely honest, I would rather have NVIDIA for the graphics; but on this newer model, the graphics can be swapped out - so we’ll see if that comes about.
Ordering Process and Timeline
| Date | Description |
|---|---|
| 18 July 2023 | Pre-Order FW16 |
| 8 March 2024 | Confirmation email that they are preparing batch 4 |
| 13 March 2024 | Credit Card showed Pending Authorization |
| 14 March 2024 | Shipping Notification that it should arrive on 3/18 |
| 18 March 2024 | Order Received |
What did I order?
- Framework Laptop 16 DIY Edition (AMD Ryzen™ 7040 Series)
- System: Ryzen™ 9 7940HS
- Expansion Bay Module: Graphics Module (AMD Radeon™ RX 7700S)
- Power Adapter: 180W Power Adapter
- Power Adapter Region: US / CA
- Expansion Bay: Expansion Bay Shell
- not using this, but have it for a backup in case I am dealing with repairs
- Memory: DDR5-5600 - 64GB (2 x 32GB)
- Storage: WD_BLACK™ SN850X NVMe™- M.2 2280 - 4TB
- no 2230 at this time, though I do have long term plans for that
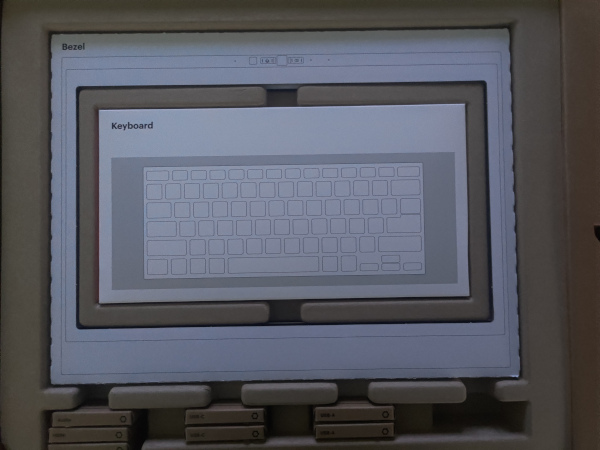
- Keyboard: RGB US English
- Laptop Bezel: Framework Laptop 16 Bezel - Black
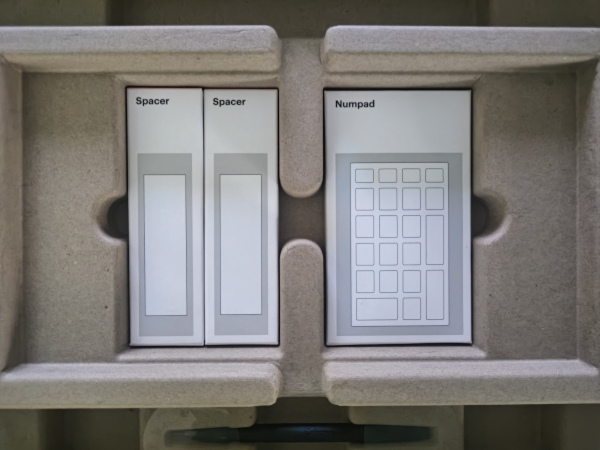
- Numpad: Numpad Module
- 2x USB-A Expansion Card
- 2x USB-C Expansion Card
- DisplayPort (2nd Gen) Expansion Card
- HDMI (3rd Gen) Expansion Card
- Audio Expansion Card
- 2x Spacer: Black
- When I ordered these, there was no picture or description. I thought they may fit next to the touchpad, but they only replace the numpad.
- I can hold on to them in case I am dealing with numpad repairs.
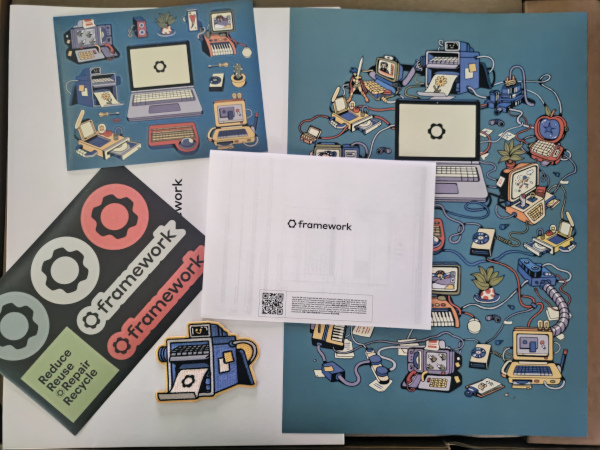
- Accessories & Tools: Poster, patch, and sticker sheet illustrated by Stephen Maurice Graham
- Accessories & Tools: Starfield™ Premium Edition game code (only with configurations that include a Graphics Module)
You might be wondering why I ordered extra ports when I already have them for the FW13. I’m likely going to repurpose that machine for my girlfriend, so I thought I should get some additional modules.
Surprisingly, that didn’t occur to me when it came to the boot drives. I was planning on reusing my existing ones, forgetting that I need them active at the same time in order to read install instructions.
So, I also ordered after the fact:
- 2x 1TB Expansion Card
To top it off, my existing Slappa laptop bag is apparently too large to be taking on the various international flights I have done recently. I went ahead and bought a new laptop bag to hold it as well.
- Elements Backpack Pro
- Elements Tech Case
- Zip Clutch
- Zip Pouch
- HUB Keychain
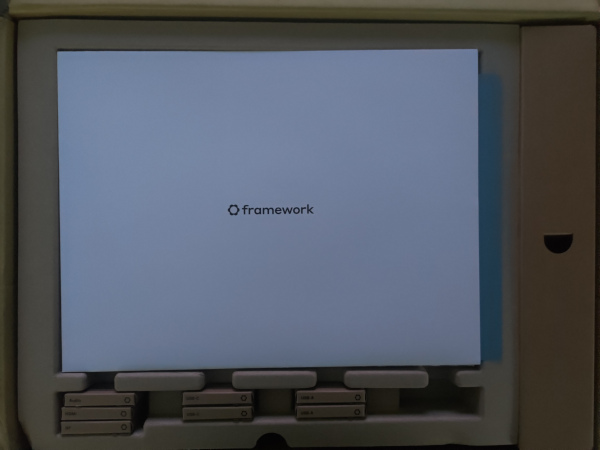
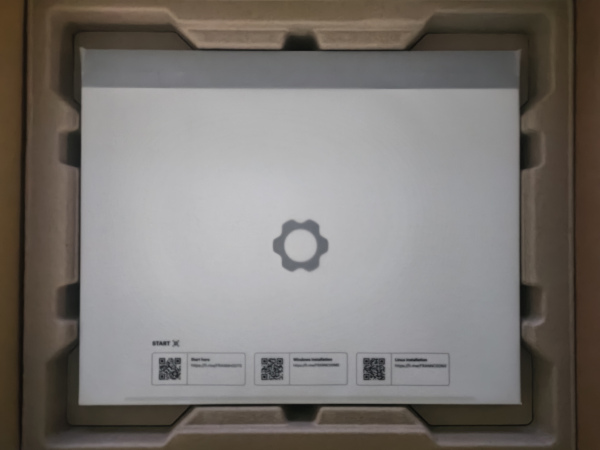
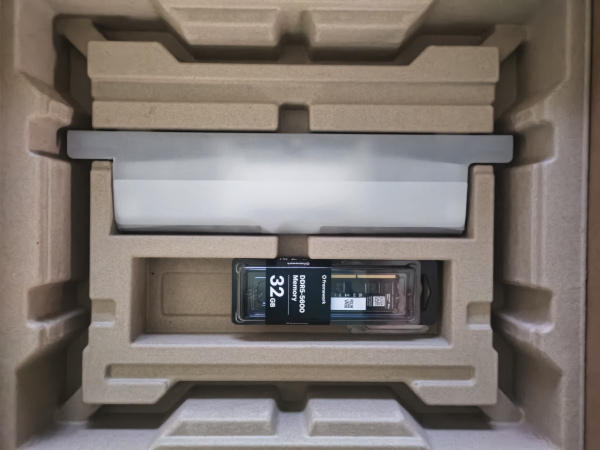
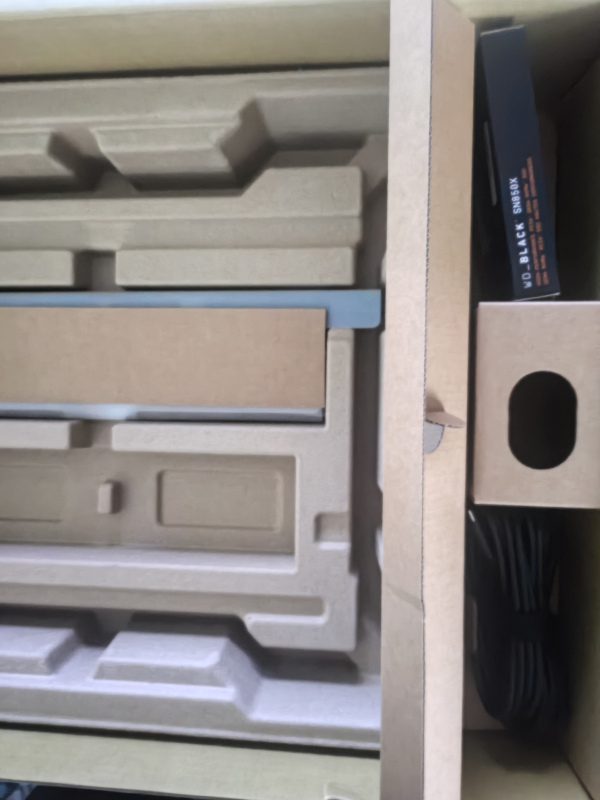
Unboxing Experience
I won’t bore you with the whole unboxing experience that I am sure you have seen everywhere else by now. Let me just say that they did a really good job of having a place for everything. Here’s a couple pics to show you what I mean.
Build Comparison to FW13
Compared to the 5 screws on the FW13, there are 17 on the FW16. You might think I’d immediately say that the FW16 is harder to disassemble; however, that’s not the case.
Hear me out.
With the FW13, there are only 5 screws, however you have to turn the machine upside down and take the screws out of the bottom of the machine, then turn it over and finish the disassembly. While yes, there are more screws on the FW16, you don’t have to turn the laptop over (repeatedly if it isn’t unscrewed enough) meaning that the base of the laptop is sturdy during the entire assembly. I found that comforting.
Where I did find some difficulty was in removing and reattaching the trackpad. It didn’t feel like it was lined up properly because it seemed to be sticking over the edge too much; while at the same time overlapping the top row. It was correct, so I imagine it will just take getting used to. That being said, detaching and re-attaching the touchpad on the FW16 doesn’t involve any inconvenient cables like the FW13.
The DIY model came with the graphics module already attached. I have not tried removing and reattaching the Interposer. This was an area that caused some confusion though. The Expansion Bay Shell Interposer and the Graphics Module Interposer go into the same location but are not the same item. As such, ordering the DIY with both the bare expansion and the graphics module results in a spare piece being shipped to you with no instructions during the install guide. It’s there in case you switch to the other module.
The FW13 also had a finicky wifi module needing attached. This came pre-attached in the FW16 DIY module. I have not tried removing it yet.
The magnets were both a help and a hindrance. They help put everything in place and ensure they are aligned. When removing items, it will take some time to figure out the best way to remove them without exerting undue pressure anywhere. They have small tabs to hold onto, but I found just trying to lift there wasn’t always easy.
Modules
The choice about where to put modules is a little more finicky than on the FW13.
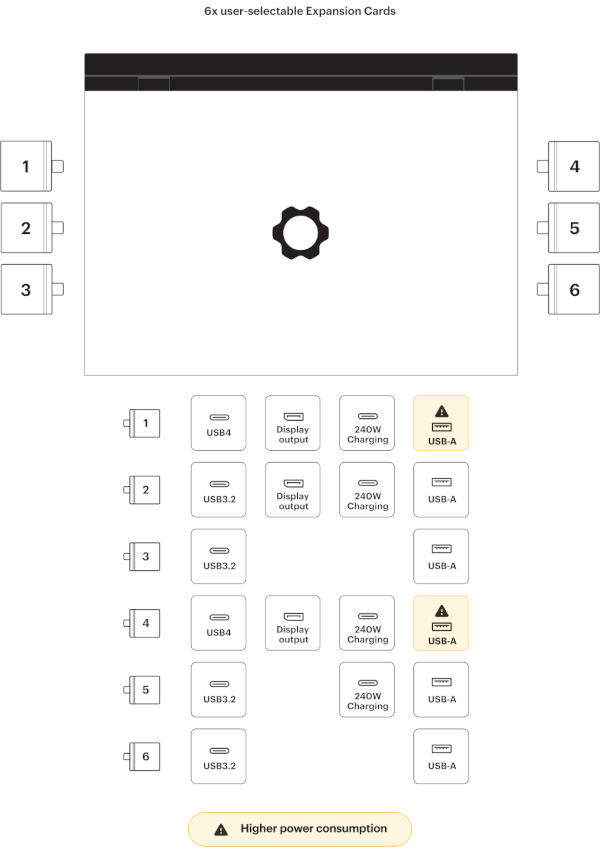
At first glance, you’ll notice that there are certain ports you should not use for USB-A.
There are also some ports that don’t support HDMI or DP.
Only two of the ports support USB4.
So what I ended up with:
| Left (Back at Top) | Right (Back at Top) |
|---|---|
| 1. USB-C | 4. USB-C/Power |
| 2. USB-A | 5. 1TB OS Boot Drive |
| 3. Audio | 6. USB-A |
I rarely need the DP or HDMI unless I am on a work trip. When I am, I can replace the USB-C or USB-A on the left side for the display output.
I also have a few of the FW13 modules, so I can swap an extra USB-C into one of the USB-A slots if I need to. Generally, for Android development, I am using a modular cable to connect the phone.
OS Install
You might recall from my FW13 that I do not install the OS to the NVME. I know it would be faster, but I also know that the chances of a Windows update breaking Grub during that process are far from zero. As such, I am using the NVME for things like git repos, compilation, etc. I am then using the 1TB modules as the OS drives.
I had decided I would start with both Ubuntu and Windows 11. I’ll likely install Arch on another module later, like I did last time. I don’t expect to use Windows for much, but I play some games that need it.
Before installing any OS, hit F2 repeatedly to get into the BIOS and change the UEFI settings from Auto to Last.
This makes sure that the most recently attached USB shows up as first in the boot order.
As a side note, I decided to leave Secure Boot enabled.
Windows 11
The most frustrating part of the whole process was getting the license key. I tried originally buying it from Framework directly, however their Digital Delivery process is severely flawed. After placing an order for a digital delivery, it took half an hour for them to grant me access to the code. I was not patient enough to wait that long, especially when reviews online said others waited over a week. When the digital delivery wasn’t available after multiple refreshes, I sent a message to support; then gave up and ordered it directly from Microsoft. They had their own issues, charging me twice and then reimbursing once; but at least I had the code within seconds instead of some unknowable time in the future. While two of the charges did get reversed, paying $600 in one night for Windows licensing was a hard pill to swallow since Linux is my daily driver.
Using Rufus to create the boot drive was OK, because I had access to a Windows machine to create it from. I kind of wish the Framework documentation had secondary instructions for those not already on Windows.
I just used a small USB-C dongle for the installer, and tried to install Windows.
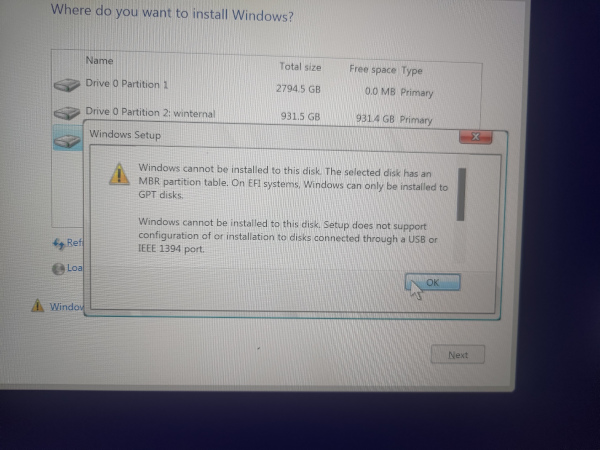
To get past this, I found a link to this blog post in the Framework forums. It took a few tries to get it working, because multiple partitions listed were too small to install Windows 11. In general, I set the Windows drive to about 900GB and doubled everything else except the msr partition.
- Recovery Image : made 8192 instead of 4096
- SYSTEM : made 200 instead of 100
- Windows RE : it was only 350mb in the docs, but the image was 697mb. I set it to 1gb.
- Windows : he had set it to 250gb. I went ahead and set it to 900gb.
One thing to take note of - if you try more than once, don’t make any assumptions. The drive letters for everything change every time you start over.
Once I followed that tutorial, I tried to continue with the install. The Framework documentation said to choose I don't have Internet so you can install the Wifi drivers.
Unfortunately, that was not an option. For that, I followed the instructions on this post to enable
that option. Specifically, opening up a command prompt and entering OOBE\BYPASSNRO. This gives that option back to the dialog so that you can continue.
The Framework docs mention setting the system name. That didn’t come up automatically. To set that, go into System > Settings > About.
One last note about Windows, you have to hold the SHIFT button when clicking Shutdown, or it only pretends to shutdown. That’s even more important for me
since I’ll be removing the OS drive.
Ubuntu 22.04
If I was willing to wait a few weeks, I would have likely installed 24.04 instead. I was a bit impatient, however.
Now, while all of the support docs appear to be on this page, that Linux page is not helpful.
Instead, you want to go to the end of the DIY Edition quick start guide and click on the Ubuntu link
from there.
So a couple first steps:
- Making the installation media
- Swapping the 1TB module for a new empty one
- Change the BIOS Linux Audio Compatibility
Normally, I would use ZFS. For this build, I used LVM. I figured if I decided to upgrade from a 1TB drive to a 2TB drive, it would make it easier.
During the install reboot process, it came up with the questions about the MOK. I did enroll the MOK, but I was on the screen waiting to figure out which keys I should enroll. I was looking at the other machine trying to figure out where I saw that documentation. It timed out and continued without me enrolling any of the keys, so… I guess it’s fine?
After install, I think the biggest problem so far has been Steam. Framework has this doc that tells you how to pass extra parameters to individual games; but the bigger problem was that no game would launch.
- the
snapversion would add Steam to the tray and add game entries into the Apps Menu; but would not launch games - the
.debversion would add a tray icon for Steam, but that was as much as it could do - the
flatpakversion actually works pretty well; it just doesn’t add entries into the Apps Menu for individual games.
I haven’t tried adding the FW change yet because it took so much trial and error just to get Steam to work at all.
Switching between OS’s
So what does it take for me to switch between Ubuntu and Windows?
Simple. Turn off the machine, swap the 1TB module, turn on the machine.
That’s it.
Neither is aware that the other one exists, or tries to interfere with the other.
Issues?
What issues have I seen so far?
In general it seems to be working pretty well so far. I tried running ESO from the Windows 1TB module. I’ve done compilation in Linux.
The printer was auto-detected and added, whereas in the past I always had to download proprietary drivers to get it working.
The fingerprint reader technically works, though I need to look into why it asks me for my password after logging me in.
I did have one unusual issue today. I tried to launch Chrome and the machine freaked out. Chrome wouldn’t launch. I tried checking dmesg, and the screen sheared in half. I tried starting Brave and it also wouldn’t launch. The temps said it was around 45℃, so it shouldn’t have been too hot. I closed everything, and during that process, a few things were flashing. Upon reboot, everything was working fine and the temps were about 56℃. Not sure what had happened, but definitely going to keep an eye on that.