AMD RYZEN Threadripper 1950X
on Odin
Motivation

My previous (2012) machine used an AMD FX-8150P. That was an 8-core CPU running a base clock of 3.6GHz. As such, I’ve been watching the low-core offerings with dread. Why would I want to upgrade to a smaller and possibly slower chip than I bought 5 years ago?
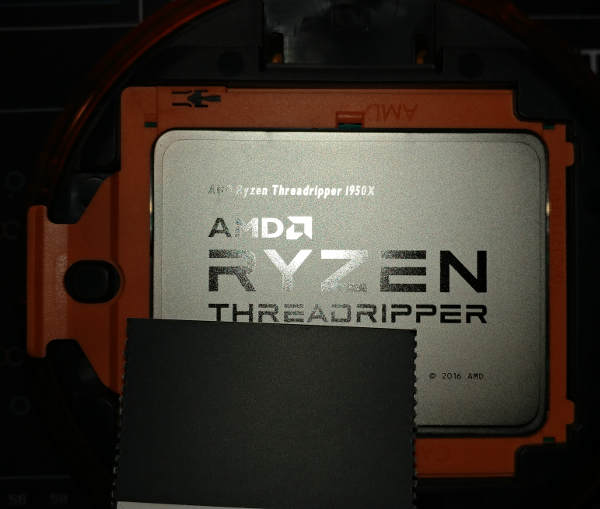
This time, I chose the AMD RYZEN Threadripper 1950X 16-Core / 32 Threads 3.4 GHz Socket sTR4 YD195XA8AEWOF.
I know - the core count is not really comparable as they have changed their architecture. For all intents and purposes, the speed per core is about the same, but with “core” really meaning something different…
Unboxing
The back of the box has a dial to turn counter-clockwise:
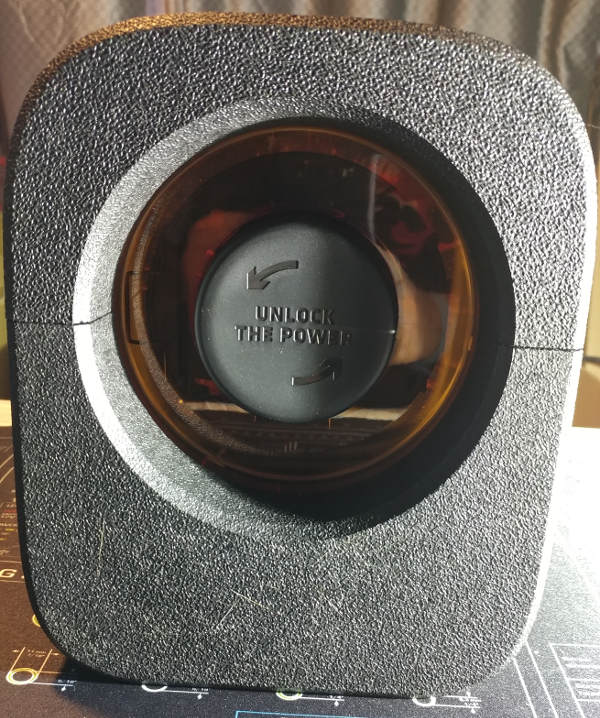
however - it’s important to pull the tab on the side first:

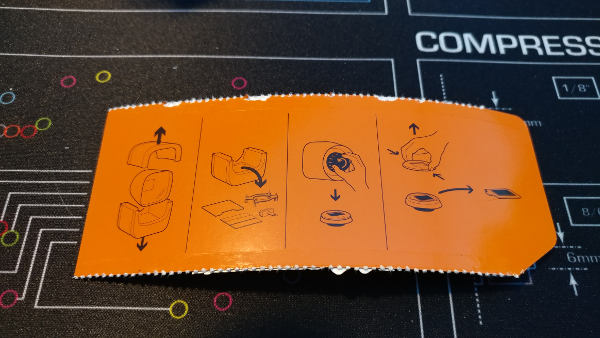
Once ripped off, instructions are provided on the reverse side.
Inside, you will find the CPU encased in a protective compartment. Excuse the instructions being in the way, I was covering up the serial number.
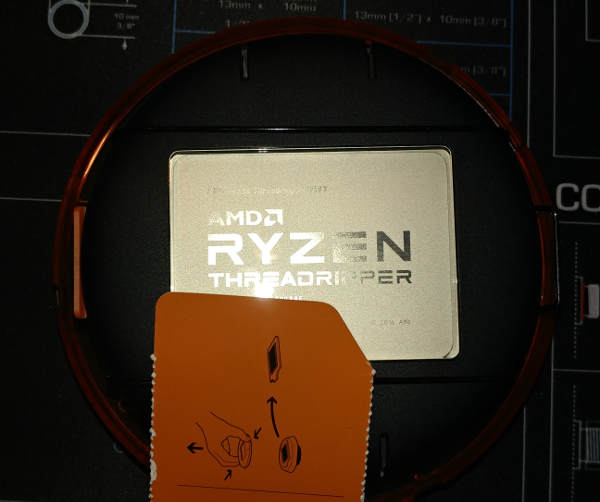
You’ll note the wire bar sticking out of the right side. None of the instructions mention it. You will need to pull on it with a bit of force and lift it off to get to the CPU beneath.
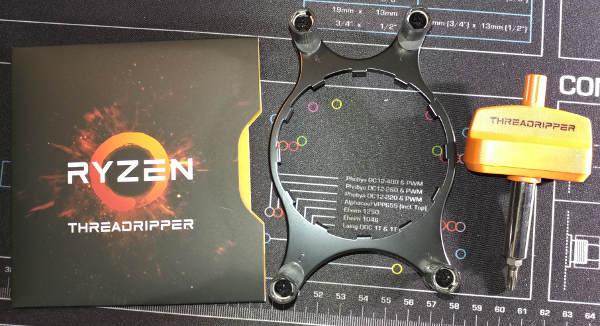
Under the CPU, you will find instructions, a torque wrench and a bracket that we won’t be using.
Installation
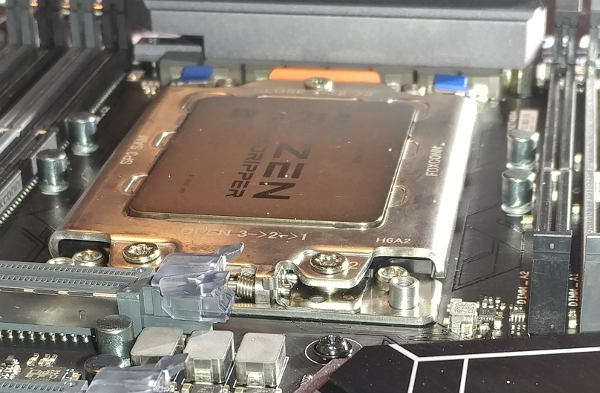
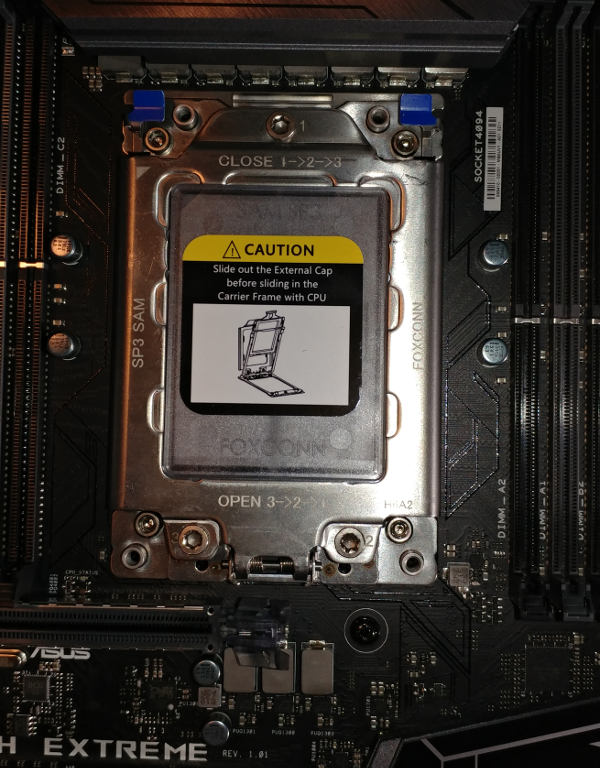
The first thing you will notice about the socket is the instructions printed on it for the order to open/close.
It may seem like you have conflicting information.
This is from the motherboard manual:

And the CPU manual:
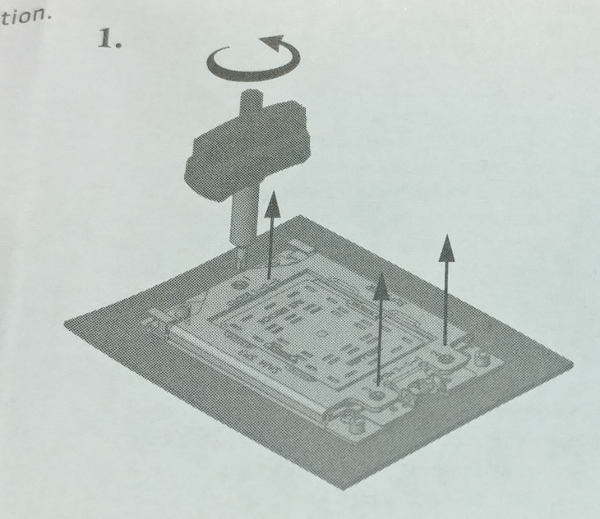
It turns out that Asus had pre-unscrewed #2 and #3, so technically #1 was the only one to loosen this time.
Once loosened, the door lifts up (on it’s own).
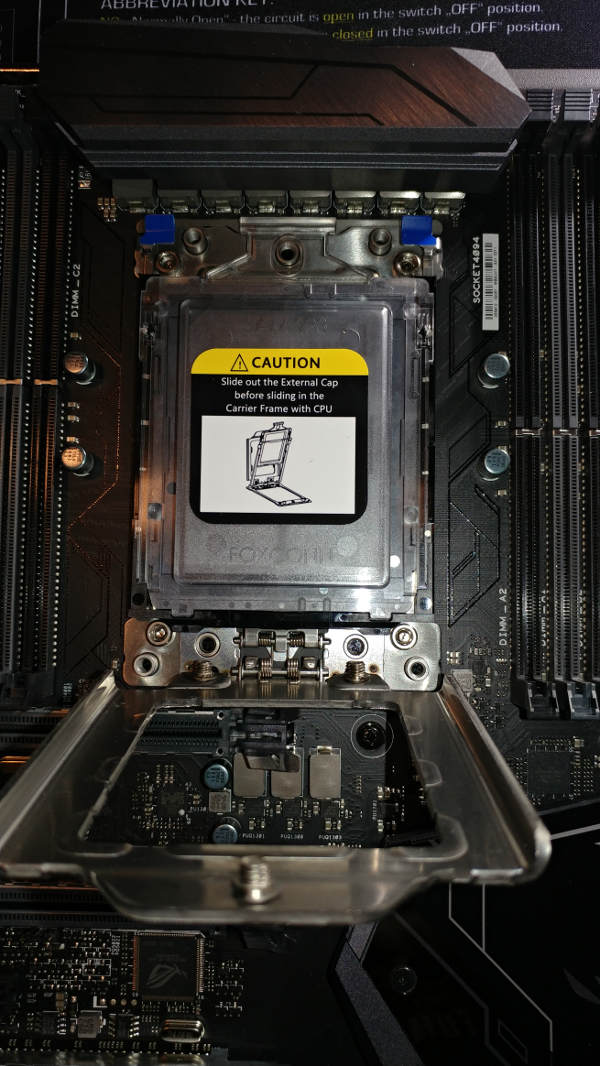
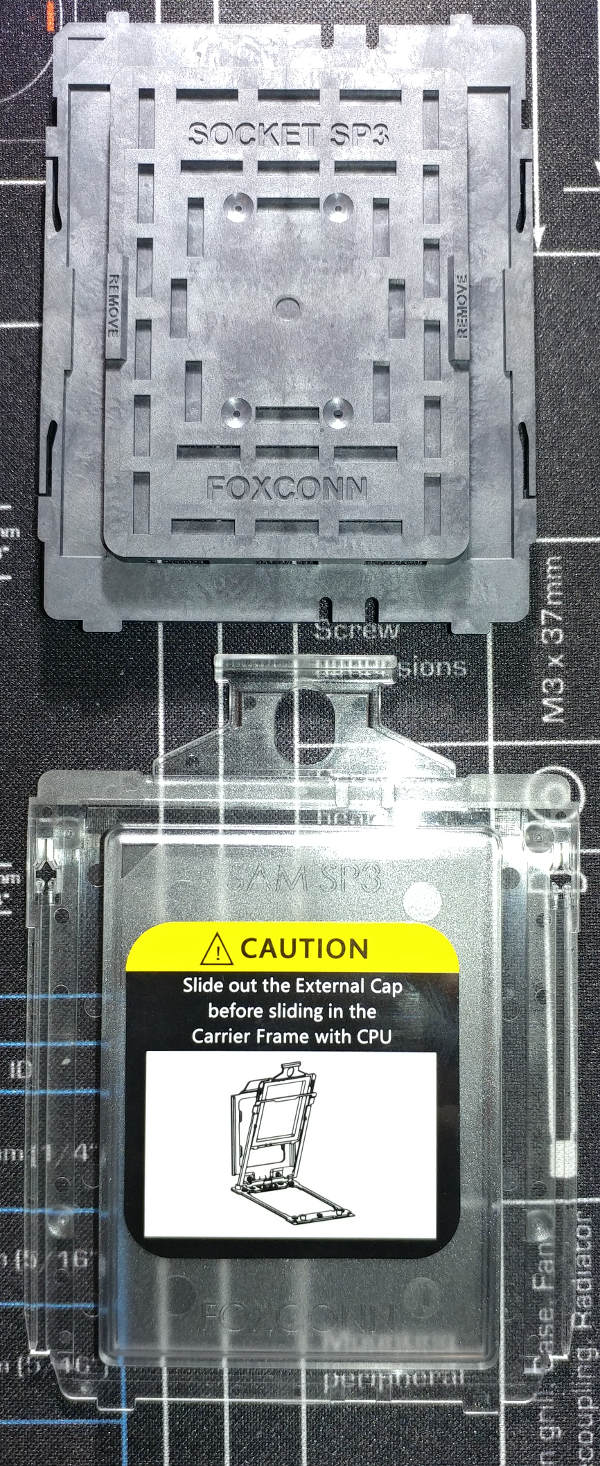
Remove the CPU Carrier Frame (ie: the little window with the Caution sticker).

You’ll notice there is also a gray cap covering the pins. Remove that as well.
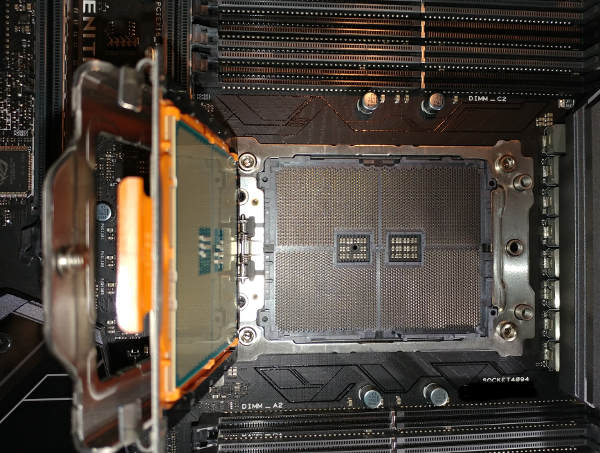
Insert the new CPU carrier (orange slide with CPU on it). Be careful to keep it in its’ track. Half way down it likes to slip out.
Snap the carrier down into place.
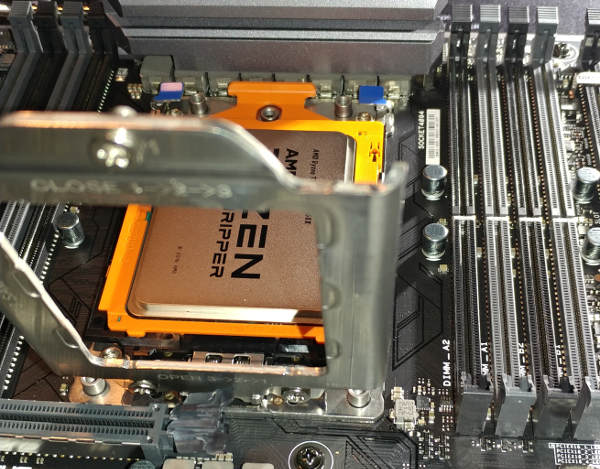
And the hardest part of the entire installation - screw the cover down. The instructions say to do 1-2-3. I tried that. I tried the reverse. I spent quite awhile before I finally got it to work. What finally work for me was starting 3 just enough that it caught before starting 1. Otherwise, once 1 is down, 2 and 3 won’t line up. I like the idea of the socket design in general, but I think they could have improved on this.