Monsoon EV2 Hardline Economy Compression Fittings, 1/2” x 5/8”
on Odin
Motivation Permalink
When looking for compression fittings, I really liked the aesthetic look for some of the Phobya and Alphacool fittings - especially the ones with a non-smooth surface like these.
I watch a lot of reviews. The Monsoon EV2 fittings, though not as aesthetically pleasing, were getting really good feedback. People really liked how strong the seal was, and I was definitely looking for that. Originally, I was going to purchase them with Performance PCs engraving service, but I completely forgot about that when it came to ordering time.
Resources Permalink
Before opening your box, I recommend watching this video by Gene Phipps.
Unboxing Permalink
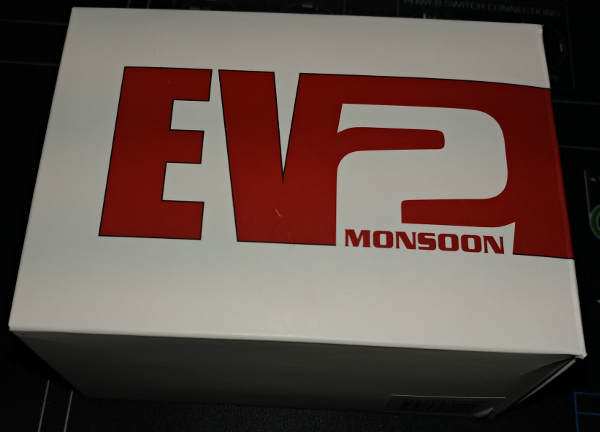
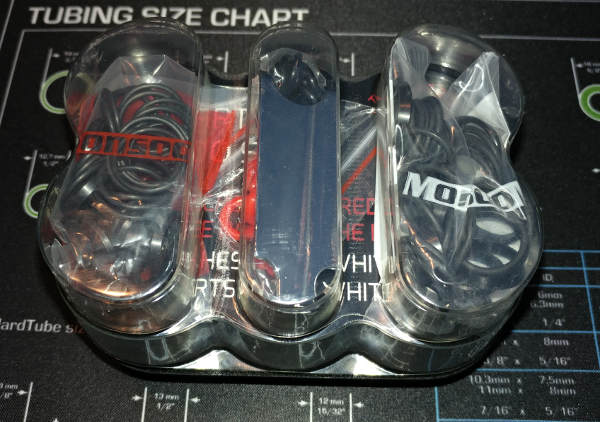
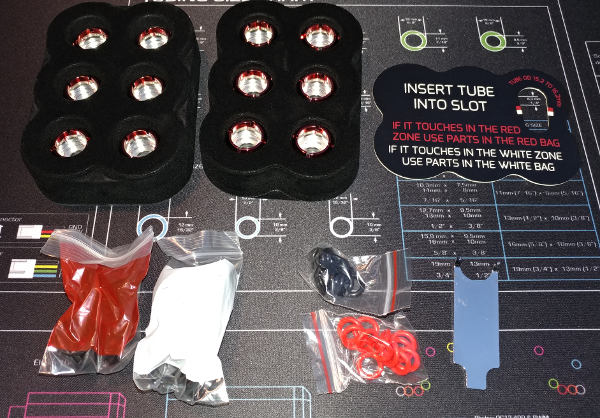
I purchased a few of the 12-pack boxes. Inside you will see 3 layers: A 6-pack, another 6-pack, then the instructions, tool and seals.
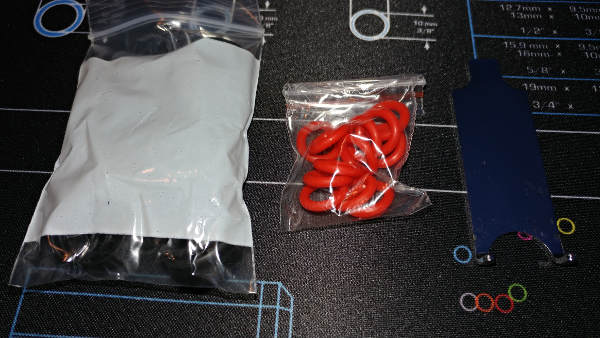
Pulling the layers apart, you can see there are a couple bags of seals. You will use either the red or white bag (as instructed) and the black or color-coded seals (your choice).
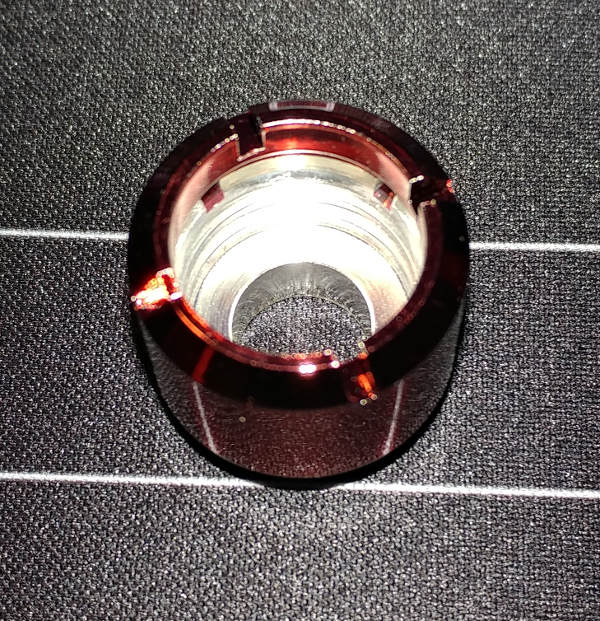
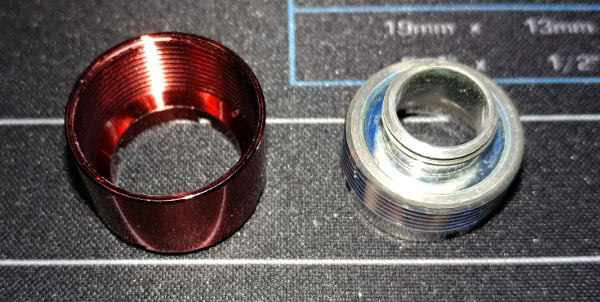
This is what an individual fitting looks like.
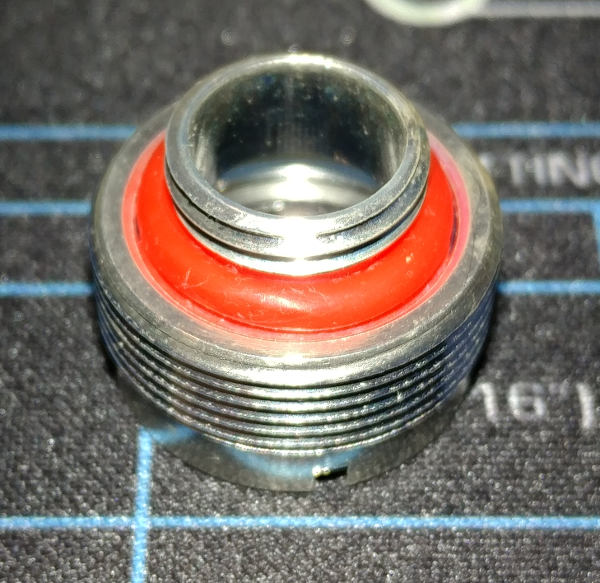
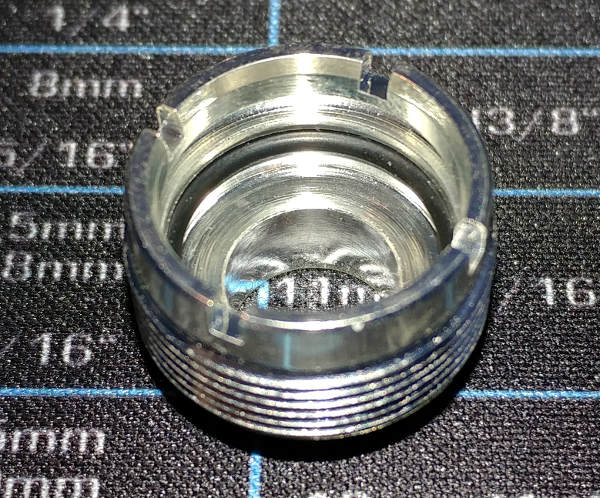
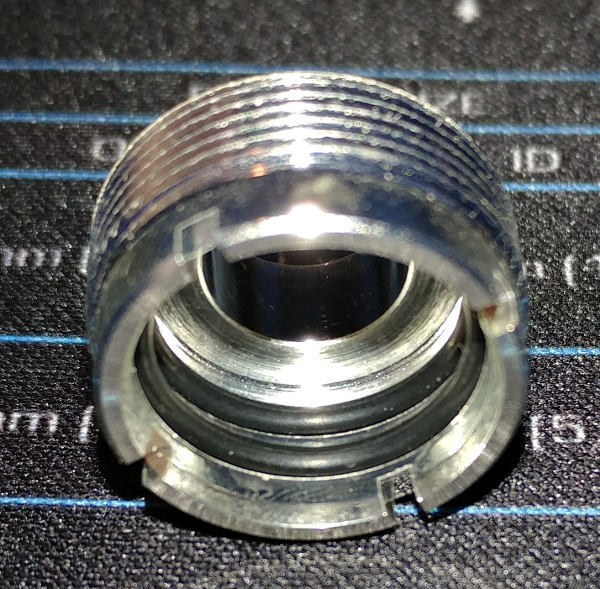
When taken apart, I noticed quite a bit of velvet fuzz where the outside seal should go on the chrome piece. I did my best to clean it off. I also noticed some discoloration on the inside, but was unable to address that.
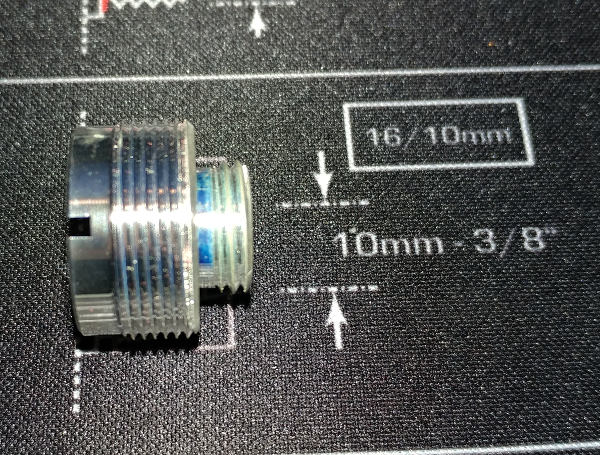
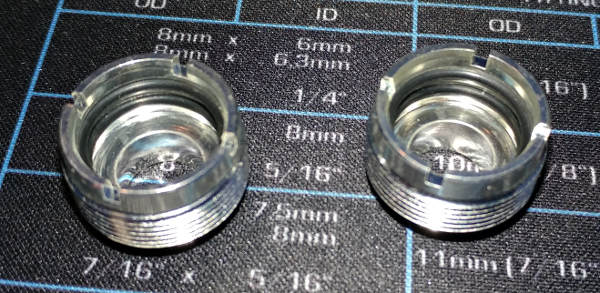
Out of curiosity, I checked the chrome piece against the Alphacool mat sizing guide.
Assembly Permalink
The assembly includes two parts. The part that goes on your tube and the part that goes on your waterblock/etc.
Picking the Parts Permalink
To determine which seals to use, we need to grab our tubing. I was a little disappointed when I received this tubing from Performance PCs already opened. I’m trying to convince myself that they were making sure that it wasn’t broken; rather than it being someone in the delivery process.
Picking a color was not an easy choice. I was going to do a two-toned system; then I thought about doing a UV-reactive system. For this first pass, I decided to go with the Blood Red from Monsoon.
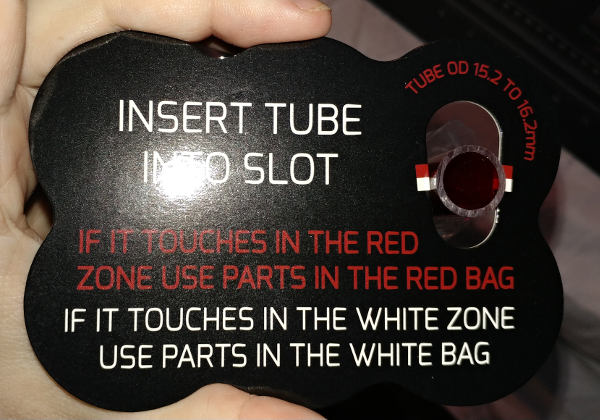
We then have to use the tube inside the informational card. This is the part I don’t like. Every video I watched showed the tube hitting right in the middle - making it seem more like guess work. I think this part of their product could be improved.
In my case, I decided it was slightly more on the white side than the red. Again, I think it is very much guess work.
More to make sure that I remember than anything, these are the parts I chose.
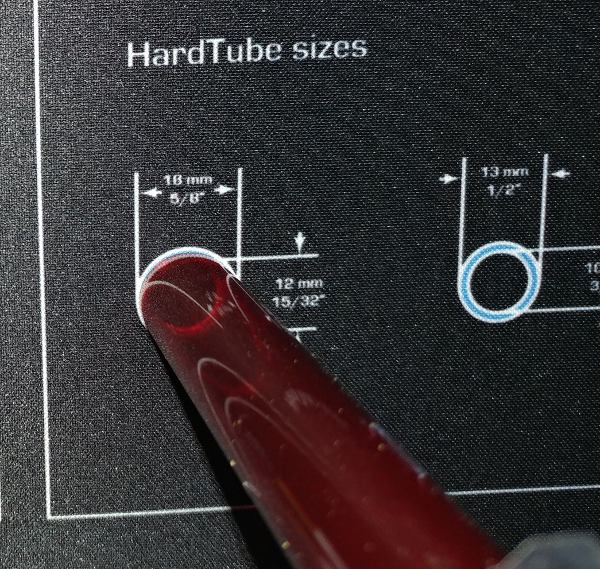
Just out of curiosity, I decided to see how the tubing looked on the Alphacool sizing guide written on my mat.
For that to be very useful, I think I’d need to cut off the end of the tube and use a smaller piece.
Base Permalink
The outside seal slipped on rather easily. I used the blunt edge of the included tool to make sure it was fully seated.
I also used the included tool to help seat the first inside seal. A lot of reviews talked about how difficult it was, but I didn’t have any of those problems.
NOTE: You’ll see that it is not all the way at the bottom. If yours is, it is because you did not watch the video above like I suggested.
Installed the second inside seal.
I prepared two of them.
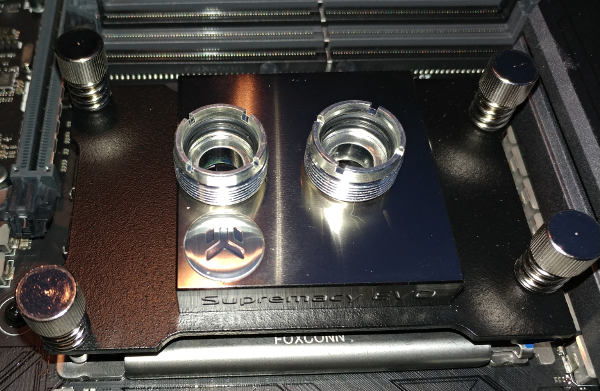
And installed them into the CPU waterblock.
Tube Permalink
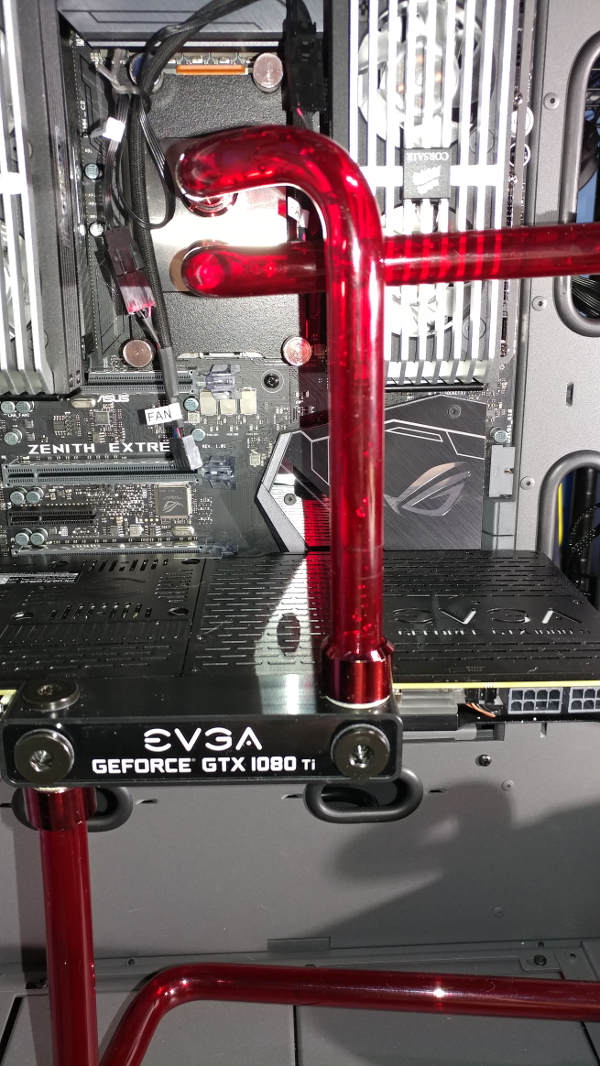
You can see my post on Tubing where I connect it to the loop.
